
When most homeowners start planning a kitchen remodel, cabinetry is one of the first things they think about, and almost always for the wrong reasons.
Door styles. Paint colors. Hardware finishes. Most homeowners start here, and I understand why. But after years of designing custom kitchens across Sacramento, Northern California, and Lake Tahoe, I can tell you that the most beautiful cabinetry in the world means nothing if it does not function for the way your family actually lives.
I have judged a lot of design competitions over the years, and what I see again and again, especially in large, impressive kitchens, is cabinetry that was chosen for how it looks and installed without any real thought for how it works. The refrigerator is on one side of the kitchen, the sink on the other, and a massive island sits in the middle. The space is filled beautifully. But nobody thought through how someone would actually cook in it.
That disconnect is expensive. Cabinetry is one of the largest material investments in a remodel. In many high-end kitchens, it can range from $40,000 to $80,000 or more. The decisions you make early will shape how your home functions every single day, for decades.
This guide covers everything you need to know before you make those decisions: construction quality that lasts, storage planning built around your family, design choices that hold up over time, the factors that drive the cost, and the planning process that keeps a project on track from the start.
Before I talk about finishes or door styles with any client, I ask questions about how they actually live.
Walk me through a typical evening when you are making dinner. Where does everyone sit? Are the kids doing homework nearby, and do you want to be able to see them while you cook? Do you entertain often, or is the kitchen mostly for family? Are you a baker?
Every answer points to something specific in the design. A client who bakes bread regularly gets a section of countertop at table height, lower than standard, so kneading is easier on the body. I also recommend a natural stone surface there, because cold marble or granite makes rolling out dough significantly easier. A family that tends to eat at the island gets that space designed around gathering first, with food prep built around it. A household with young children gets storage designed around what they can actually reach and use on their own: snack drawers at a lower height, plates in base cabinets, cups in hutch cabinetry next to the dishwasher so they can help unload without asking for assistance.
When clients come to me focused on aesthetics, I listen to all of it. Their style preferences genuinely matter. And then I follow up with these questions about workflow and daily life. Because a kitchen that looks exactly right but functions awkwardly will frustrate you in small ways every single day. A kitchen designed around how your family actually moves through it will feel like it fits, even years later.
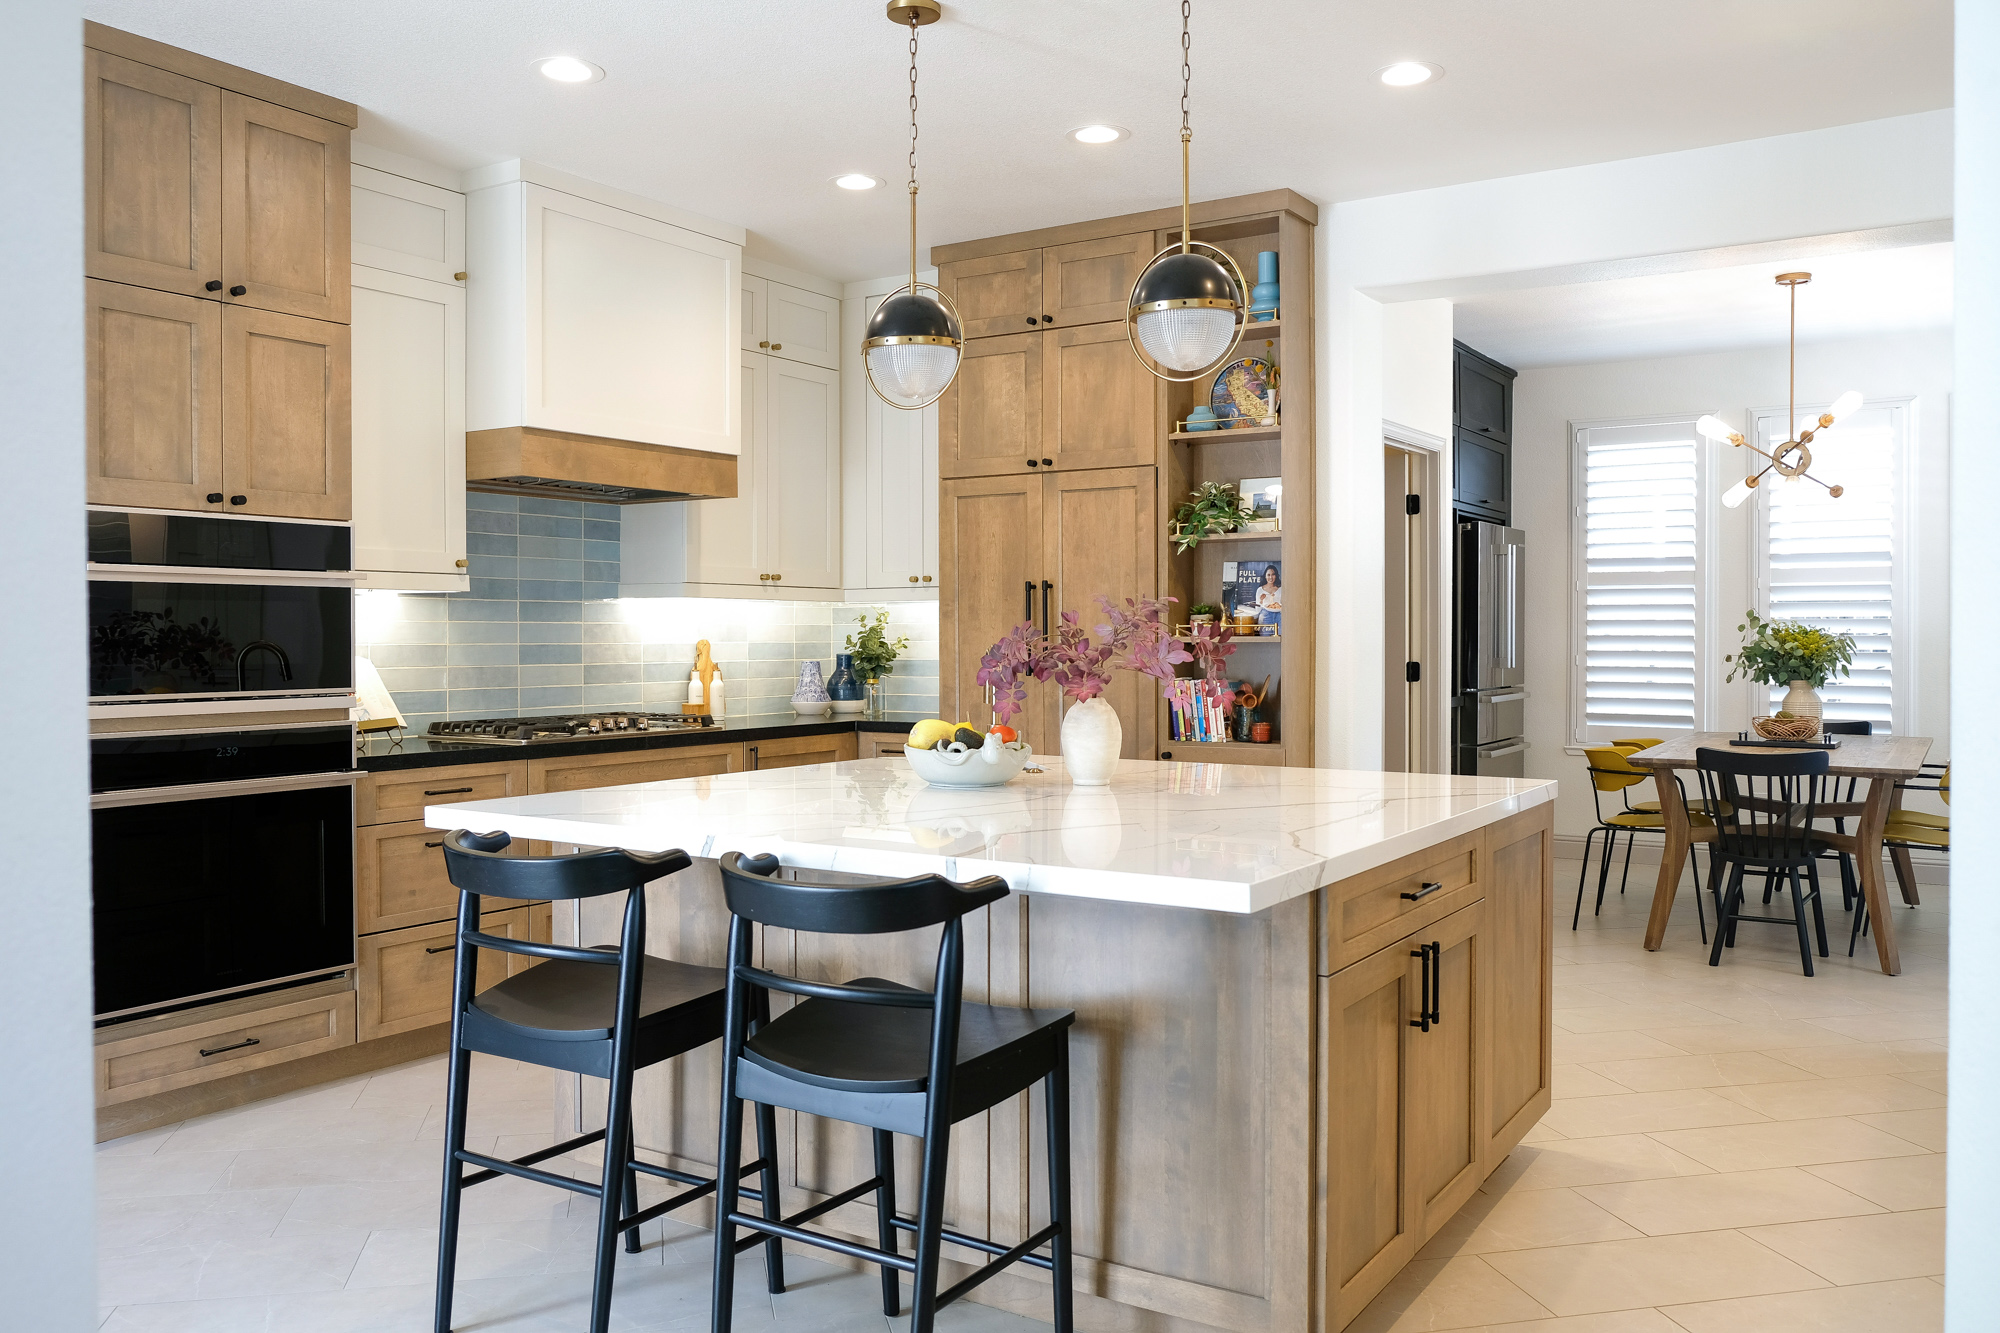
Not all cabinetry is created equal, and the differences go well beyond price. Many homeowners do not realize how significant those differences are until they are deep into the remodeling process and comparing quotes that are very far apart.
Stock cabinets are pre-manufactured in standard sizes with limited options for customization. They typically come in increments of three inches: 12, 15, 18, 21, 24. That means they almost never fit a space perfectly. Filler strips are used to close the gaps, which creates a built-in appearance, but it is never quite the same as cabinetry sized exactly for the room. Stock cabinetry typically runs $150 to $300 per linear foot.
Stock cabinetry works well for budget-conscious projects, simple layouts, and renovations with a tight timeline. For the right project, it is a reasonable choice. For a kitchen you plan to live in for decades, the limitations start to show.
Semi-custom sits between stock and fully custom, and for many families it is the right balance of quality and value. Where stock cabinetry might offer five door styles and ten color options, a good semi-custom line offers thirty door styles and fifty or more finishes. Sizing can typically be customized, so the cabinets fit the space without fillers. Expect to invest about $400 to $700 per linear foot.
Construction quality is generally better than stock as well. Plywood boxes, more storage accessory options, and better hardware throughout. This is often where I start with clients who want a high-quality result without the investment of fully custom work.
Custom cabinetry is built specifically for your home and your family. There are no standard sizes, no catalog limitations, no compromises on how something fits or functions. If you can sketch it, a skilled cabinet maker can build it. Pricing starts at $800 to $1,000 per linear foot and goes up depending on materials and complexity.
That level of precision shows in ways that go beyond the obvious. Custom cabinetry can be grain-matched, where the wood grain on adjacent doors is aligned so two panels read as a continuous piece, similar to bookmatching a countertop. On lower-end cabinetry, what looks like wood grain is often a veneer or laminate with no continuity at all. Once you know what to look for, the difference is immediately visible.
Custom cabinetry is right for high-end remodels, complex layouts, and homeowners who want their kitchen to function as a long-term investment designed entirely around their lives.
Installation is a separate line item across all three tiers, typically $40 to $60 per linear foot. It is worth factoring in from the start rather than treating it as an afterthought once the cabinet budget is set.
When you are standing in front of two sets of cabinetry trying to understand why one costs significantly more than the other, here is what to look at.
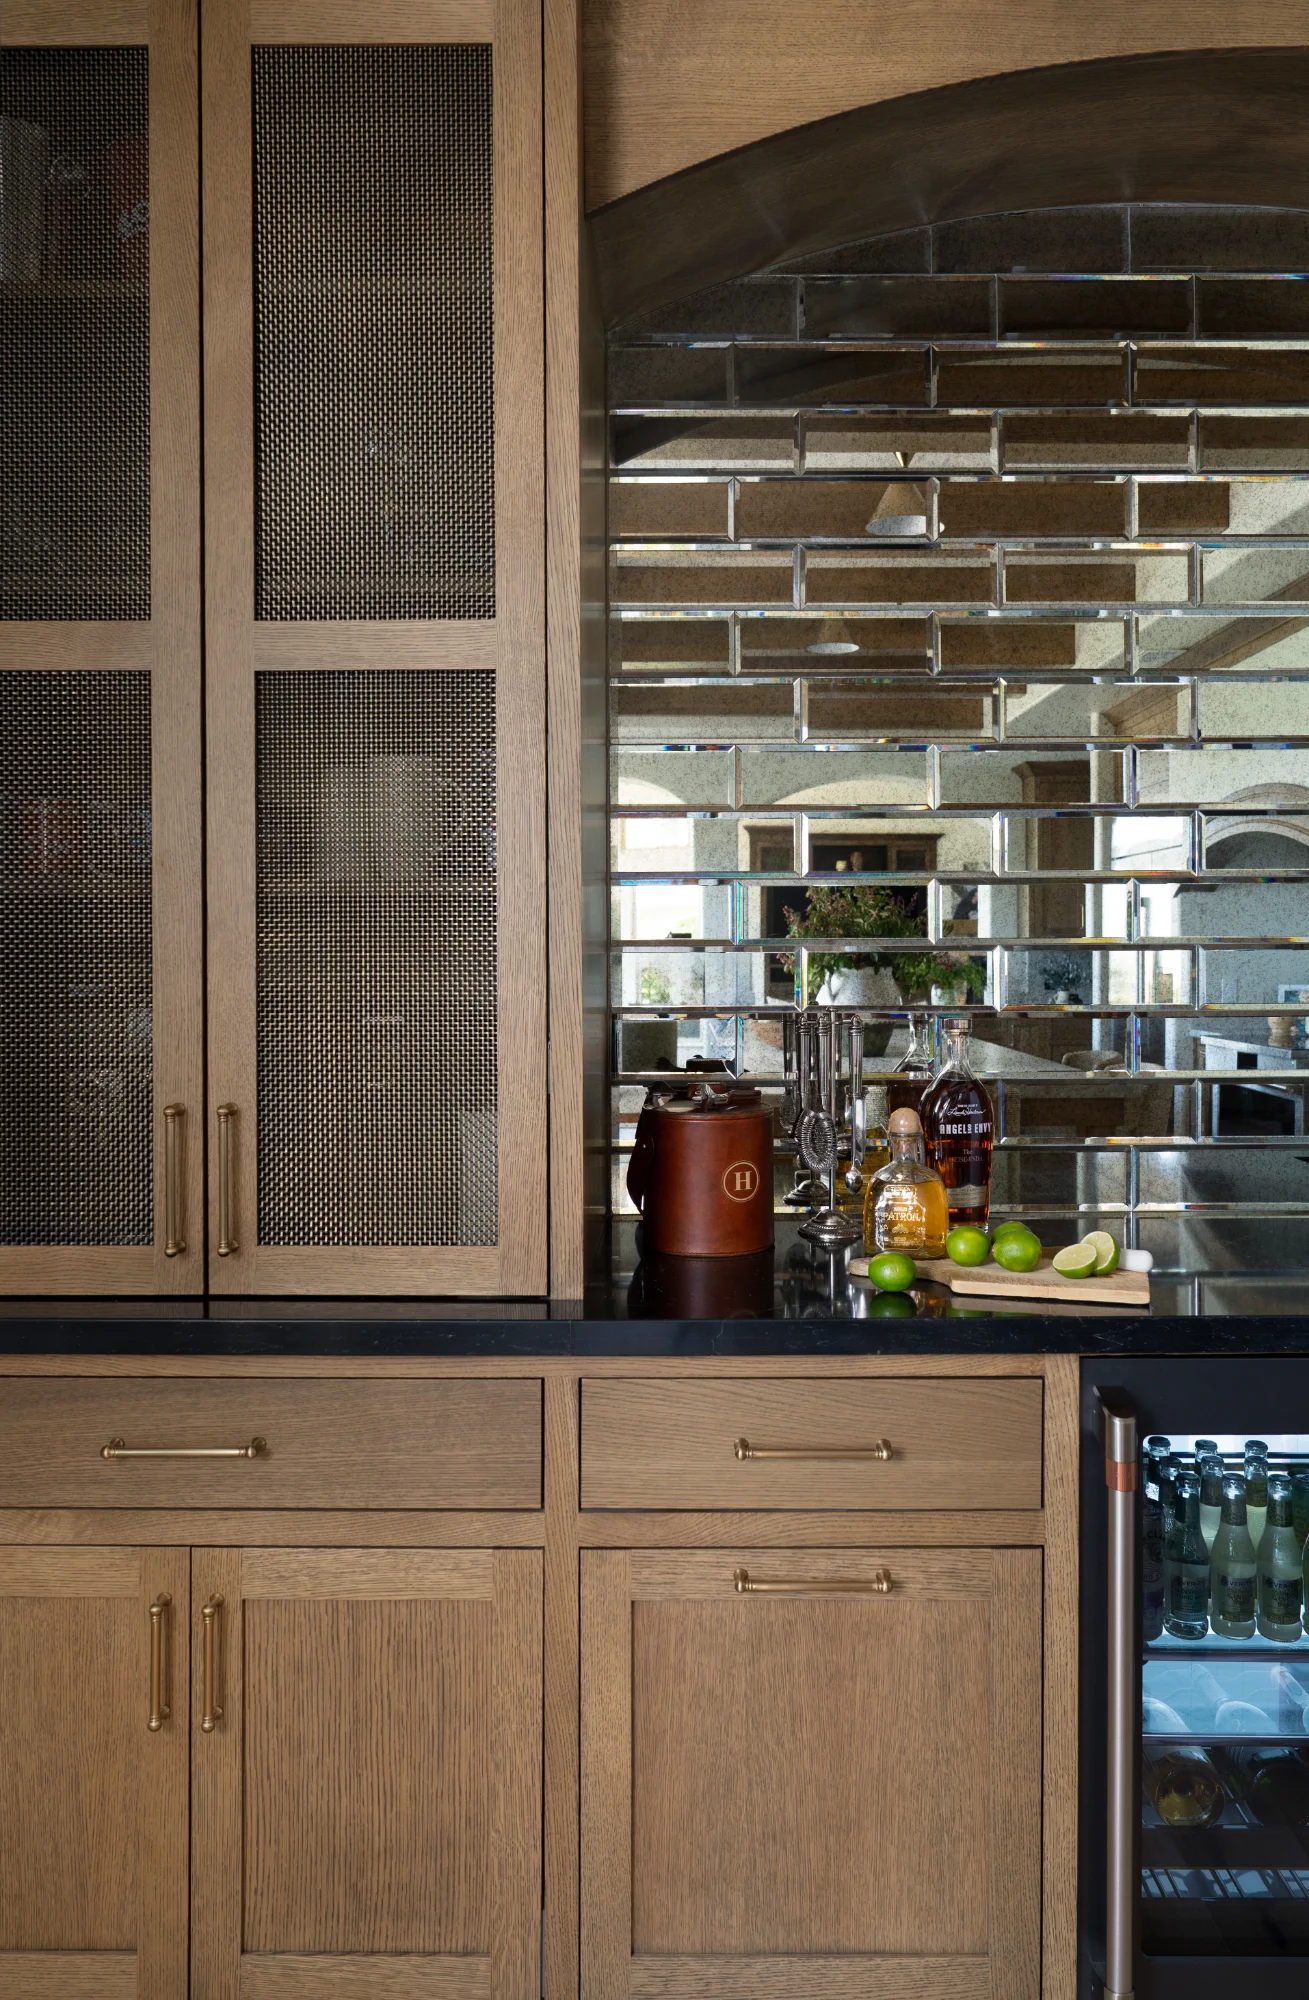
Door Overlay. Standard overlay cabinetry, the most common in lower-end work, leaves a visible reveal around each door, showing the cabinet frame behind it. Full overlay covers the frame completely, with doors sitting edge to edge. Inset cabinetry, the most refined option, places the door flush inside the frame itself, which requires precise craftsmanship and careful hardware adjustment to look right. Each step up requires more skill and more time, and the finished result reflects it.
Drawer Box Construction. There are two main ways a drawer box gets put together. A butt joint, the most common in lower-end cabinetry, holds the corners together with glue and fasteners. A dovetail joint locks together mechanically, with interlocking angles cut into the wood itself. Most clients never think to ask about this distinction, but it is one of the clearest indicators of quality. The cabinet maker I work with builds every drawer box from solid maple with dovetail joints. The mechanical connection means the drawer stays square and tight even after years of daily use, where a butt joint loosens over time as the glue and fasteners give. You will not notice the difference on day one. You will notice it on year seven.
Box Thickness. Higher-end cabinet boxes use thicker material, typically 5/8 or 3/4 inch, compared to the thinner stock used in budget options. Thicker walls hold their shape under load, heavy pots, full utensil drawers, the kind of use a family kitchen actually gets, and keep the drawer slides aligned over time. Most people feel the difference once they are opening and closing drawers every day.
Sizing Precision. This is one of the most significant practical differences between custom and stock cabinetry, and one of the least visible until you live with the result. Custom cabinetry is built to the exact dimensions of your space: no fillers, no gaps, no half-inch strips of wood used to bridge the difference between what was available and what actually fits. Every cabinet is sized deliberately, which means every inch of the kitchen is working for you. With stock cabinetry, the available sizes determine what gets built, and the space adjusts around them. In a kitchen where storage and layout are doing a lot of work, that difference is felt every day.
The smallest cabinetry details often have the biggest impact on daily life, and some of the most useful features are ones clients never think to ask about.
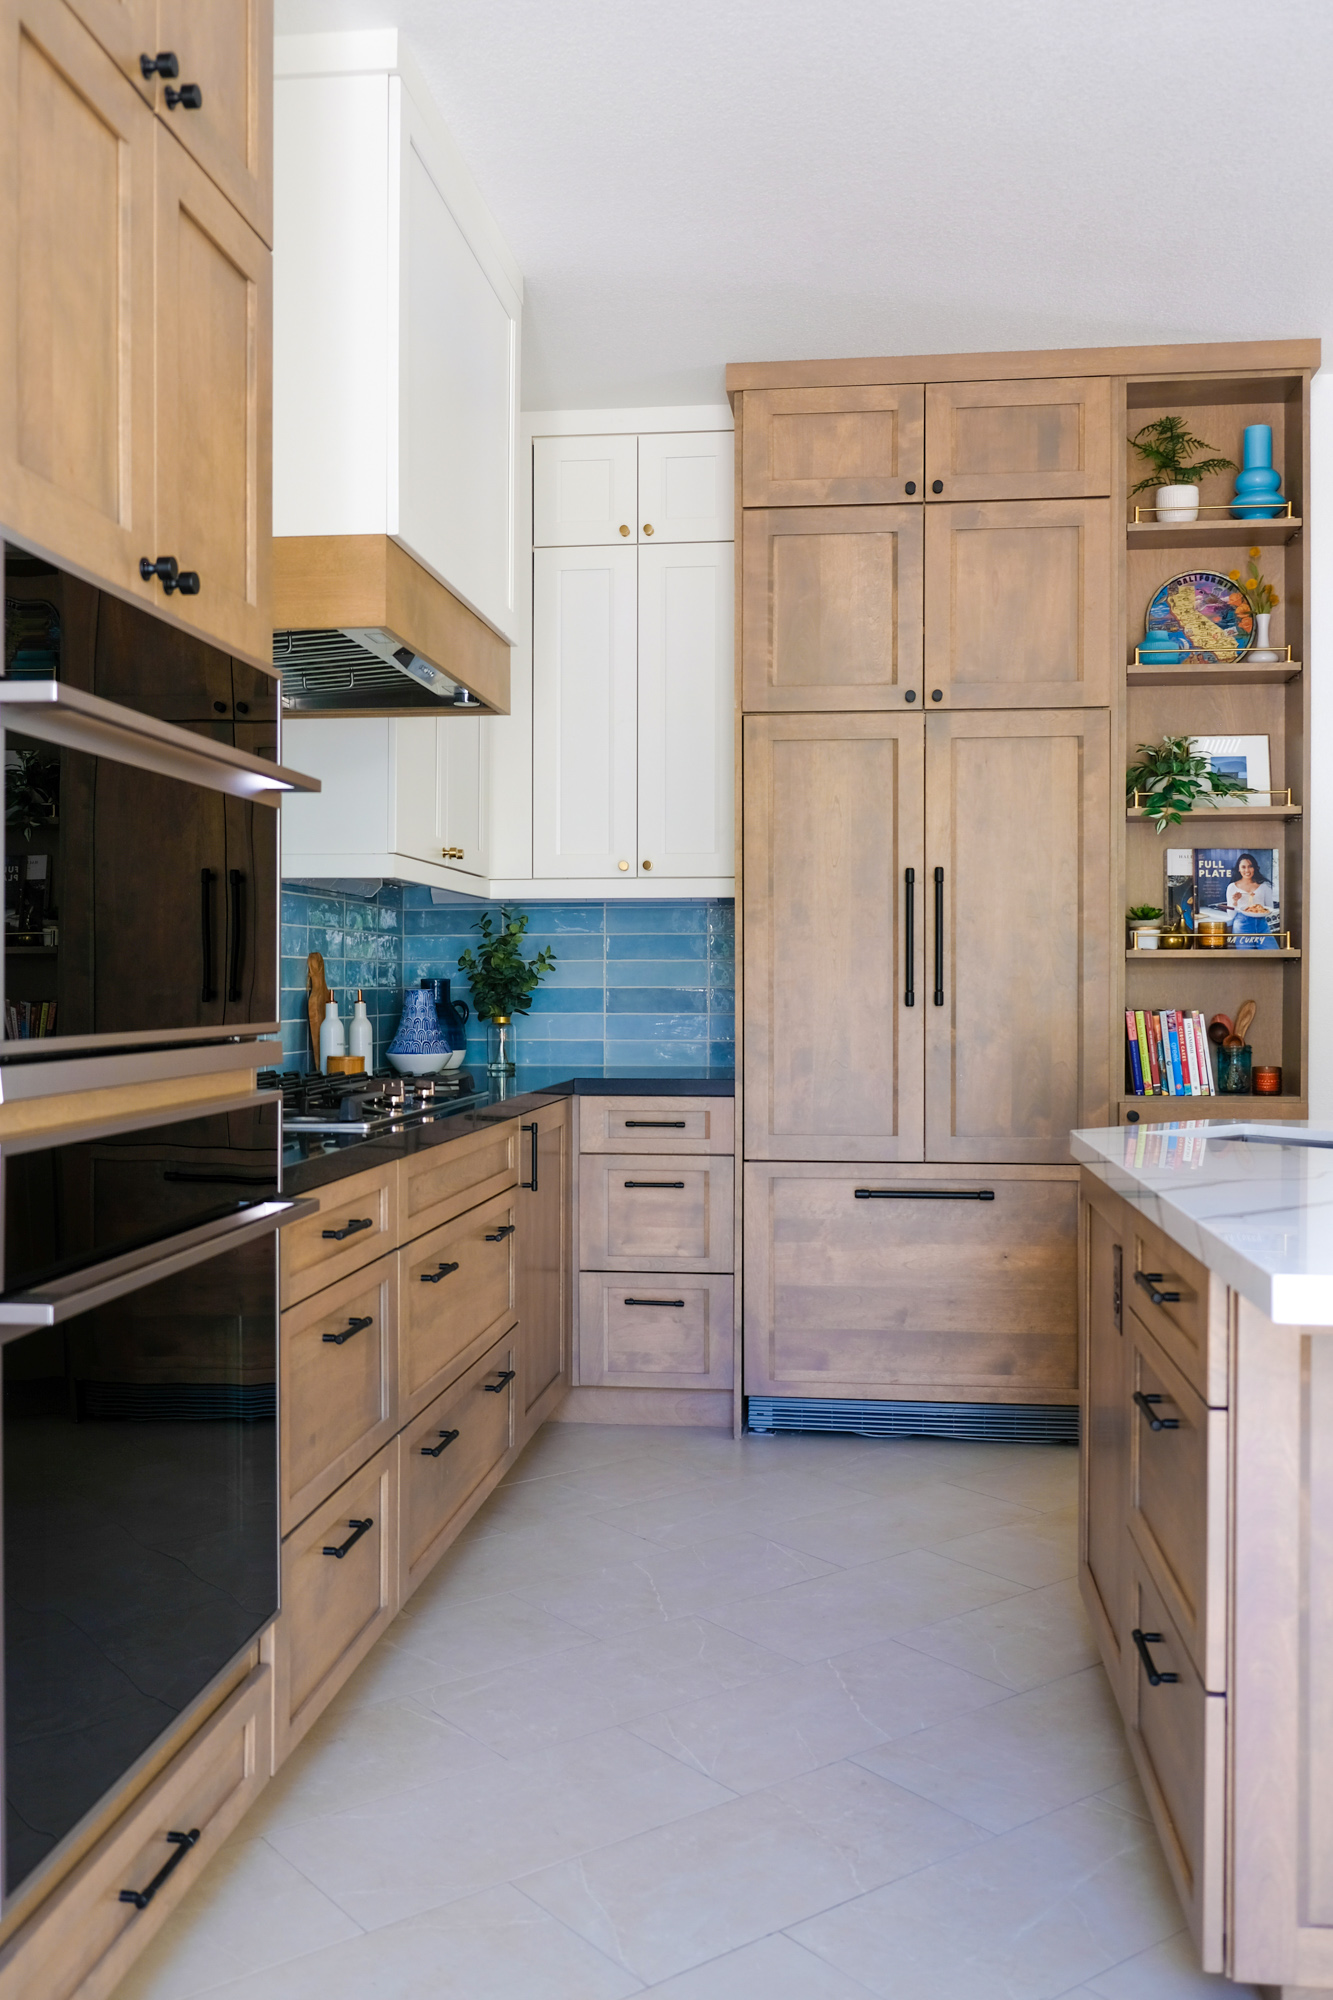
The corner solution. Almost every homeowner I have ever worked with has a blind corner cabinet full of things they have not seen in years. A mixing bowl from a previous apartment. A serving dish used exactly once. A gadget bought with good intentions. The corner swallows things whole, and after a while, most people just stop putting anything in there they actually want to find again.
In a recent project, a three-generation household had exactly this problem. The corner cabinet had become a graveyard for everything that did not have a better home. We replaced it with a two-tiered sliding system where both tiers pull out fully, giving complete access to the entire cabinet. The family now stores their everyday mixing bowls and serving pieces in there, things they reach for regularly, because they can actually see and access everything inside. A corner that had been written off became some of the most useful storage in the kitchen.
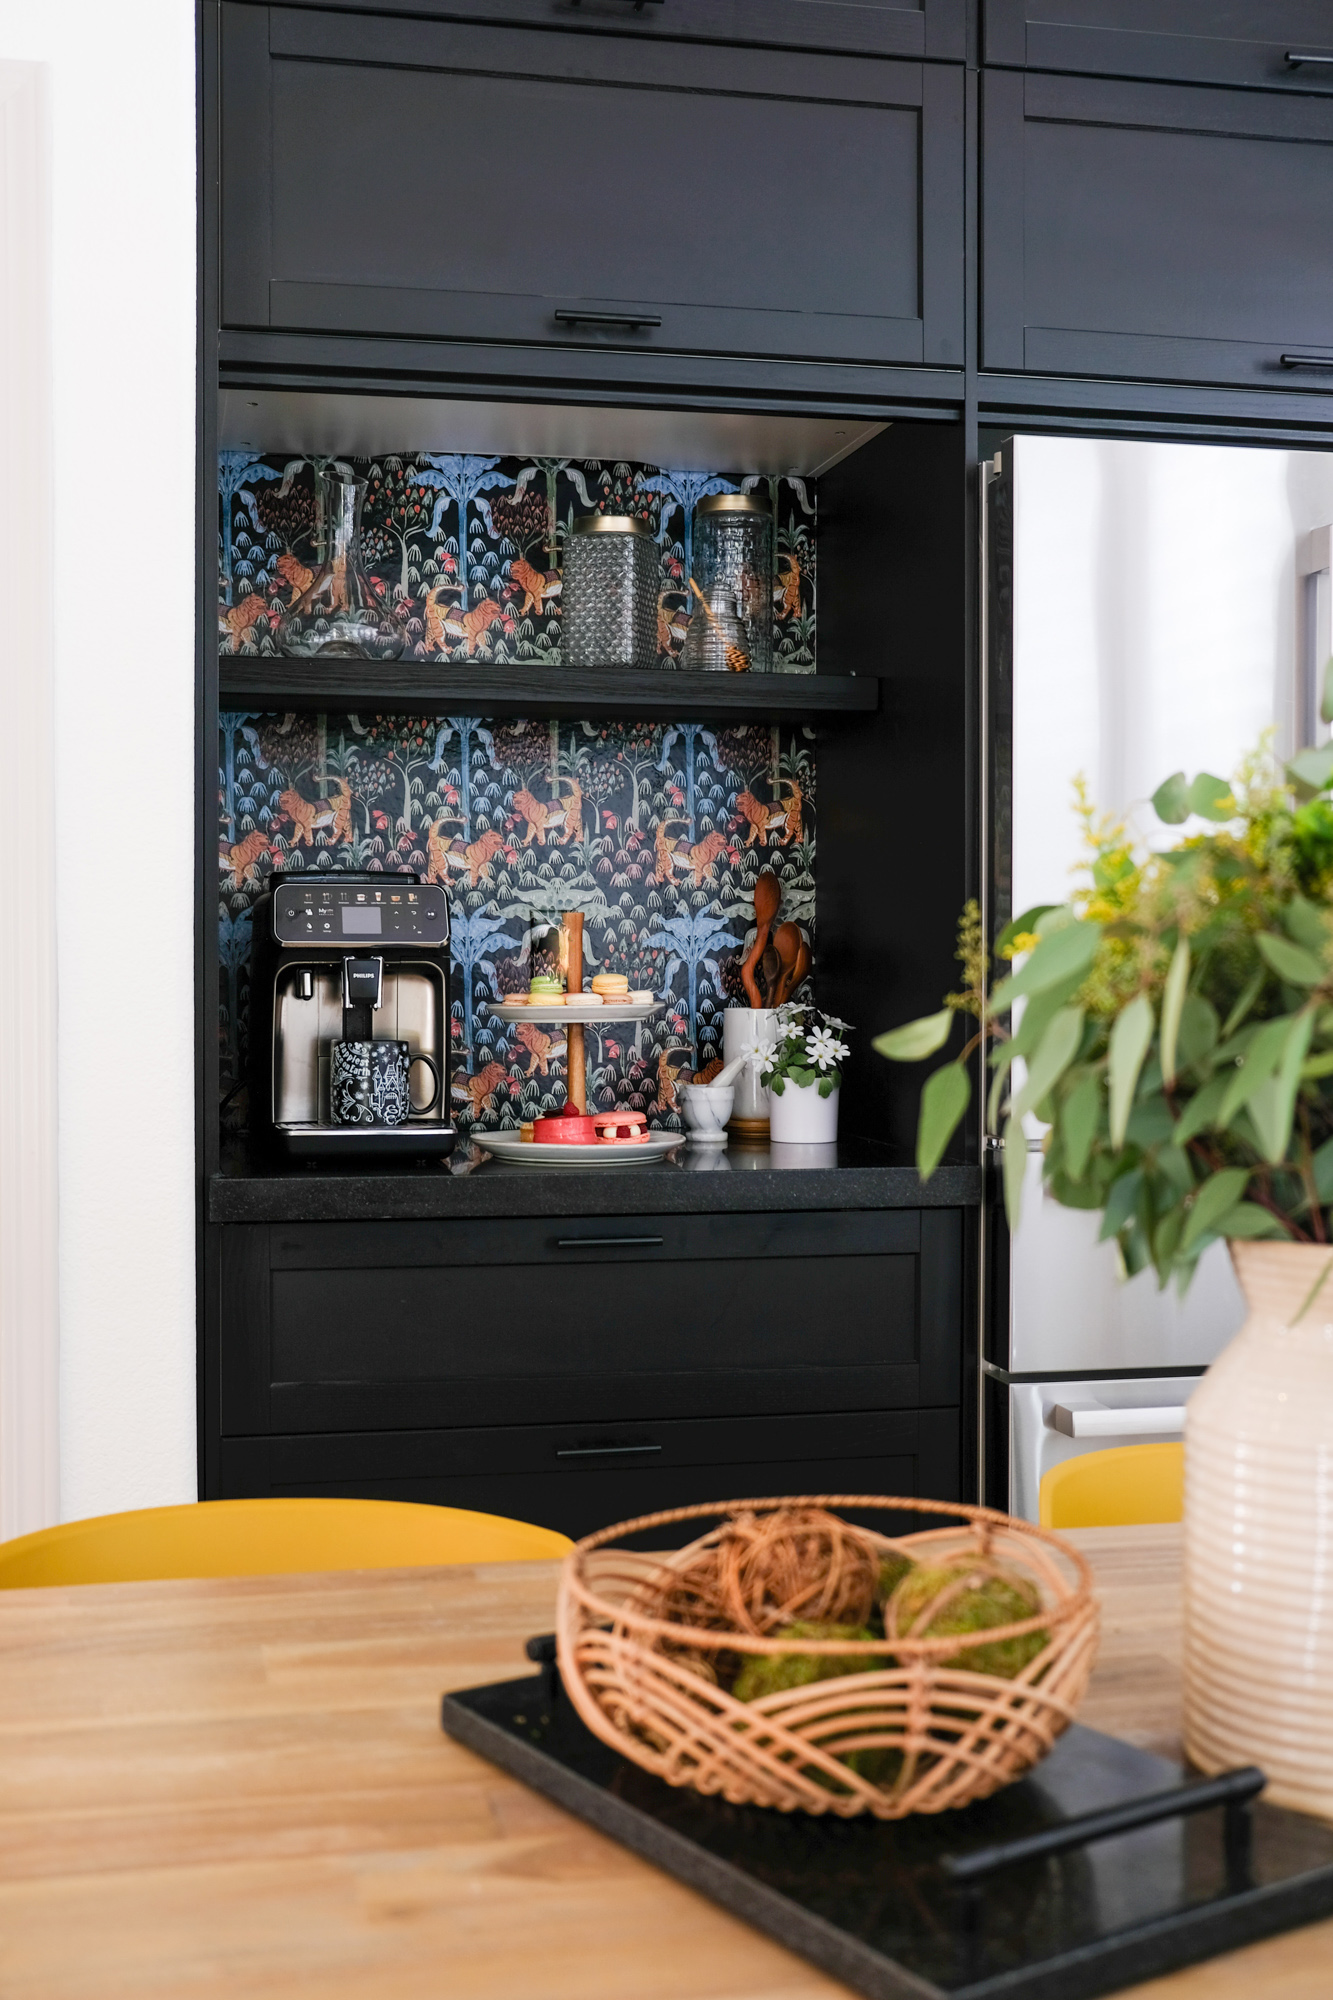
Appliance garages. The best placement for an appliance garage depends entirely on how it will be used. If it is a coffee station the household uses every morning, it should be open and accessible. Pocket doors work well for this, so it can stay open during the week and closed when guests are over. If it is storage for a mixer, a Vitamix, and a toaster that come out occasionally, it functions more as a concealed storage zone. Both are valid. The key is deciding which one you actually need before it gets designed into the wrong spot.
Waste separation. This is one of the most commonly overlooked planning decisions, and it varies by city. In Carmichael, for example, green waste separation is required. In Roseville, it is not. If you are remodeling and you do separate trash, recycling, and green waste, plan for that now. A pullout designed for three bins takes more space than a standard garbage pullout, and it is much easier to design that in from the start than to retrofit it later.
Pull-outs for cutting boards and cookie sheets. Most kitchens stack these horizontally and then require unpacking half the cabinet to reach what is at the back. A vertical pull-out lets you reach in from the top and pull out exactly what you need. It sounds like a small thing until you are cooking dinner every night.
Charging drawers. A dedicated drawer with charging cables built in, for devices that get plugged in overnight, keeps counters clear without requiring anyone to think about it. It is one of those features clients either love immediately or never ask about, and the ones who have it tend to wonder how they lived without it.
Towel storage. Small, but consistently overlooked. A pull-out towel bar tucked into a small cabinet next to the sink keeps dish towels accessible without cluttering the counter. It is a detail I always ask clients about because it is the kind of thing that gets improvised badly when it is not planned for.
One note on inserts generally: they add up quickly. Garbage pullouts, corner solutions, spice pullouts, appliance garages, charging drawers. Each one is a meaningful line item, and together they can add $10,000 or more to a project. Going through a Pinterest folder of every feature you love without understanding that is one of the most common ways homeowners end up surprised by a quote.
Everything covered so far, the cabinet tier, the construction method, the overlay style, the storage inserts, is also a cost decision. The reason cabinetry quotes can vary so dramatically is that each of those choices stacks. Understanding how they stack is what makes the numbers make sense.
Cabinetry is often the single largest material investment in a kitchen remodel. For a high-end kitchen, $40,000 to $50,000 is a realistic starting point, and fully custom projects with premium materials run $80,000 to $100,000 and well above. For context, a mid-sized kitchen with stock or entry-level cabinetry can be done for $10,000 to $20,000, but that is a different product category entirely, built for a different kind of project.
The factors that move the number most, roughly in order of impact: material and wood species, construction method and overlay style, custom versus semi-custom sizing, storage inserts and accessories, and door style complexity. None of these is a surprise at this point. What surprises most people is how quickly they compound.
Before getting into detailed quotes, the lineal foot formula is a straightforward way to estimate a realistic budget range. Measure your base cabinets, then measure your uppers, counting tall cabinets as twice their length since they use twice the material. Add those numbers together for your total linear footage, then multiply by the per-foot rate for your cabinet tier. Add $40 to $60 per linear foot for installation, which is a separate cost that is easy to overlook when setting an initial budget.
This is a standard industry calculation. Cabinet manufacturers and showrooms should be able to give you their per-foot rate when you ask. What it does is give you a realistic number to plan around before you fall in love with a specific direction. The most common source of quote surprises is using the wrong per-foot rate for the level of kitchen being designed.
Clients often arrive with a folder of saved images showing all the features they love: hidden outlets, custom pull-outs, specialty inserts, unique millwork details. Every one of those details is a line item, and they are usually not cheap. The images do not come with price tags, which means it is easy to fall in love with a kitchen that is significantly more expensive than what you planned for, and not realize it until the quote arrives.
Keep saving inspiration. Just have the budget conversation early, before the design gets specific enough that adjusting it is difficult.
In most cases, cabinetry is not a place to cut significantly, especially if you are interested in quality countertops. Replacing cabinetry later means replacing the counters too, since the two are built around each other. The ripple effect makes it more expensive to upgrade in pieces than to get it right the first time.
Where you have more flexibility is in hardware and lighting. Cabinet pulls range from $15 to well over $100 per piece, and the difference is largely aesthetic. Under-cabinet lighting can range from a few thousand dollars to $10,000 depending on the system, a meaningful gap, but one that does not affect the cabinetry itself. Hardware and lighting are easy to update later. The boxes behind them are not.
Most clients do not realize how much work goes into a cabinet order before anything is ever built. I spend easily 30 hours reviewing a single order: checking dimensions, confirming specifications, catching details that would cost thousands of dollars to fix once the cabinets are manufactured. A mistake in a custom order costs thousands of dollars to correct, sometimes more. Having someone who knows what to look for before the order is placed is one of the most direct ways to protect the investment you are making.
The word "timeless" is used loosely in design, but what is considered timeless can shift over time. Trends get photographed. What people want to live with day to day is usually quieter.
White kitchens are a good example. We see far fewer of them in editorial coverage today than we did a few years ago. But white is still, by a significant margin, the most common request I receive from clients. Warm wood tones, soft off-whites, and natural-looking finishes tend to age well. They feel considered and calm, the kind of choice that still looks right ten years later. In contrast, a Calacatta Viola marble countertop paired with maroon cabinetry is genuinely beautiful, but it may also feel very specific to this moment five years from now. It is worth thinking through honestly before committing.
When a client comes to me with a personal vision, the best thing I can do is explore it with them. That might mean thinking through whether a statement countertop works better as the hero piece with quieter cabinetry alongside it, or talking through how a specific color reads in different lighting conditions throughout the day. The goal is always a kitchen they will love for years, and that means making sure the choices they are excited about today are ones they have genuinely thought through. When your kitchen is built around a vision that you genuinely own, that kitchen will feel right for the years to come.
I almost always recommend taking cabinetry all the way to the ceiling. It is the most efficient use of the space, and those upper cabinets earn their keep. I recommend reserving them for seasonal items: Christmas plates, serving pieces that come out a few times a year, outdoor plastic cups for the summer. Things you want accessible but not in the way of daily life.
There is also a practical maintenance argument. The space above cabinets that stop short of the ceiling collects grease and dust, and the combination of the two is genuinely difficult to clean. When we moved into our house, the cabinets did not go all the way up, and cleaning above them was a project I was not prepared for. If you use that space as an open display, you are committing to keeping it clean and curated indefinitely, which is a harder ask than it sounds in a working kitchen.
For very high ceilings where running cabinetry all the way up is not practical, a soffit, a built-out false ceiling above the cabinets, closes the gap cleanly. It keeps the space from collecting grime and gives the kitchen a finished, intentional look without the reach required by very tall upper cabinets. One thing worth knowing, especially in older homes, is that ceilings are often not perfectly level. This becomes visible when cabinets run all the way to the top. The solution is to plan for a larger riser molding from the start, so the crown molding can be installed flush to the ceiling regardless of any variation. It is a small detail to get right in the planning phase, and a much harder one to fix after the cabinets are in.
Cabinetry is a structural decision. It shapes how your kitchen feels to cook in, to gather in, to come home to every day.
The clients I work with who are happiest with their kitchens are the ones who thought through function before finishes, made their planning decisions in the right order, and gave themselves time to get it right before construction began. The ones who struggled are almost always the ones who made decisions too late, or who didn't understand how quickly individual choices compound until the quote came back higher than expected.
That family with three generations under one roof is a good reminder of what that thoughtfulness makes possible. Each person had different schedules and a different relationship to the kitchen. We converted a builder-grade walk-in pantry that had been nothing more than shelves into a proper secondary space: cabinetry, a countertop, a microwave inside so the kids can make their own snack without interrupting whoever is cooking. Hutch-style cabinetry runs all the way down to the counter next to the dishwasher so children can reach cups and plates independently. Plates stored in base cabinets with dividers make table-setting something a younger kid can actually help with. None of those details is dramatic on its own. Together, they changed how that family uses their kitchen every day.
If you are planning a kitchen remodel and want cabinetry designed around the way your family actually lives, the MasterPlan is where that process begins, whether you are working with a full-service design team or building a planning foundation to take to your own contractor.
We would love to help you get started. Get in touch to start the conversation.
